Tips & Tricks
Huawei P30 and Huawei P30 Pro camera tips and tricks: An unprecedented camera
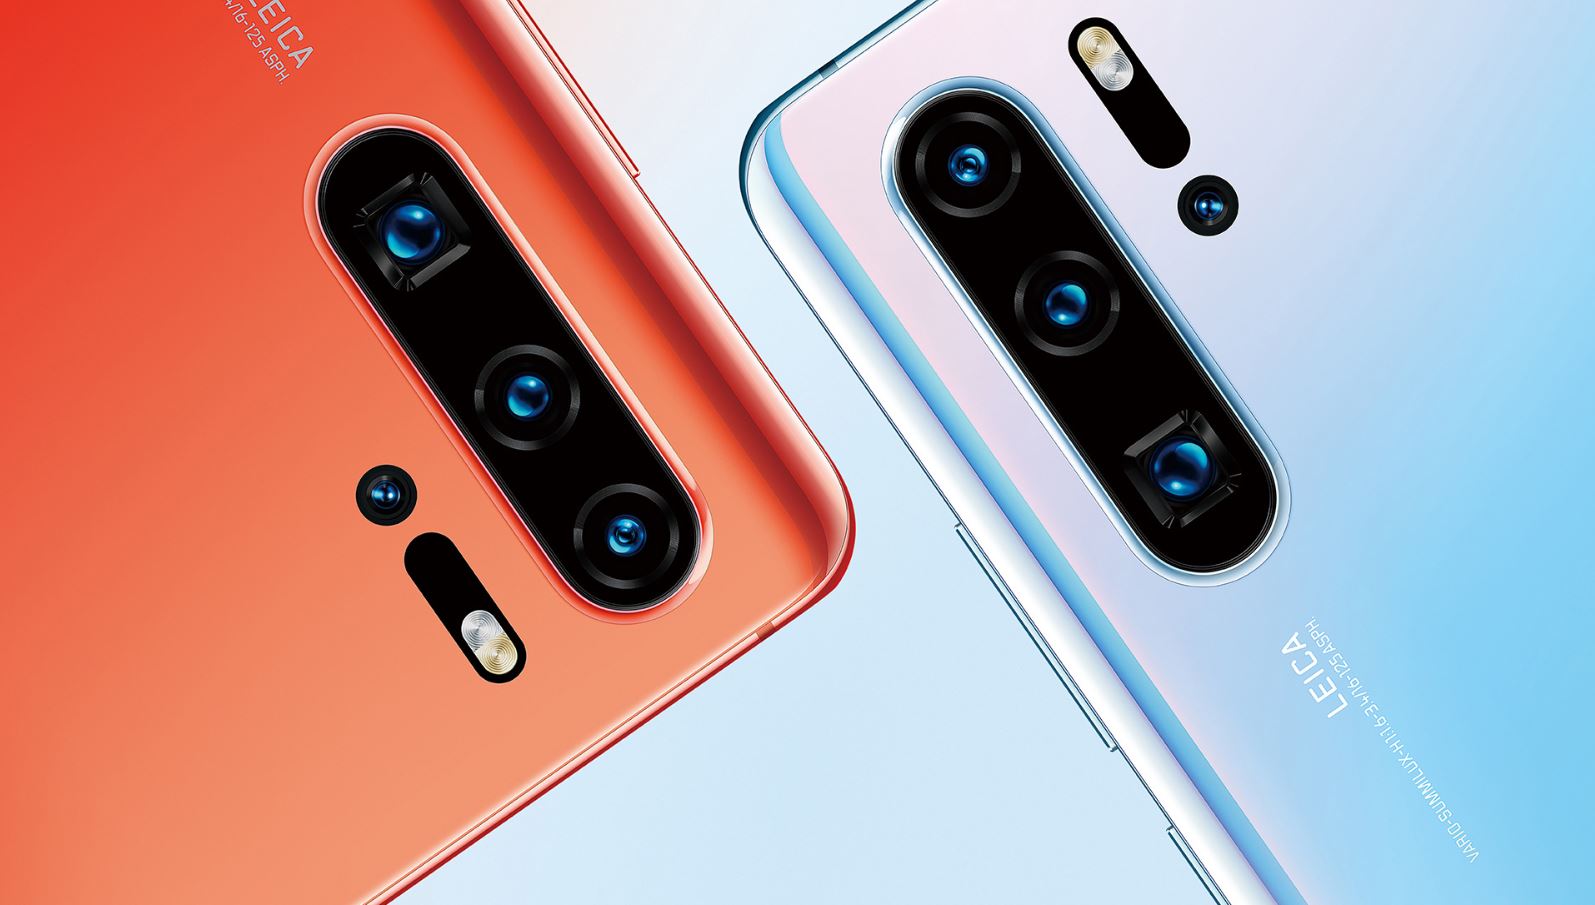
Huawei has taken the wraps off the latest entries in its P series of smartphones: the Huawei P30 and P30 Pro.
Both flagship handsets include a number of upgrades over their predecessors, including the flagship Kirin 980 chipset, a smaller notch, significantly bigger batteries, and redesigned cameras.
Let’s talk about the camera feature:
1. How to use Master AI, Intelligent Photo Scene Identification
Master AI can automatically identify your current photography scene and intelligently adjust the color and brightness of the photo, so you don’t need to repeatedly adjust your camera for the perfect shot.
Master AI is a preset camera feature on your Phone that intelligently identifies your current photography scene and automatically adjusts the color and brightness of your photo to help you achieve better effects.
Master AI provides you with the following features:
- Intelligently identifies photographing scenes and improves photo effects:
- Master AI supports multiple scenes, such as the stage, beach, blue sky, greenery, and text scenes. After smart identification, Master AI automatically adjusts the color and brightness of the camera and recommends an optimal mode (such as the portrait, greenery, or text mode) to improve photo effects.
- Enable Master AI to automatically configure and adjust camera settings:
- When you open the camera and enter Standard camera mode, touch to enable Master AI as required. Once enabled, this feature will intelligently identify the photography scene, which saves you the trouble of repeated manual adjustments.
Things to remember:
- Master AI is only available when you take photos using the rear camera.
- Master AI is automatically disabled when you switch to Portrait mode, Wide aperture mode, or Moving picture mode.
- When you set the color mode to Vivid, the identification of the following photography scenes is not supported: blue sky, greenery, flowers, beach, snow, and autumn leaves. For other scenes, Master AI is still available.
2. How to Use Portrait Mode to Take Stunning Portraits
Go to Camera > Portrait, select one of the effects, then touch Camera to take a portrait.
- Blurred effect:
- Touch the ‘+’ icon in the viewfinder and select a blurred effect.
- Portrait Mode Tips: A light source (such as neon light or street light) in a relatively well-lit background will contribute to a better-blurred effect. Taking a photo from afar will reduce the stage lighting effect.
- Beauty effect:
- Shoot using the rear camera: Touch FACE icon in the viewfinder and drag the slider to adjust the beautification settings.
- Shoot using the front camera: Touch FACE icon in the viewfinder. Adjust settings as desired for better selfies.
- Tips: To disable the beauty effect, touch FACE icon in the viewfinder and drag each setting to its minimum value.
3. How to Use the AR lens to Shoot Interesting Photos
Use the AR lens to make your photos fun and stand out.
- Go to Camera > More > AR lens.
- There are several effects to choose from to make your photos stand out:
- 3D Qmoji: Touch 3D Qmoji, and select an animated Qmoji.
- The Qmoji will then mimic and act out your facial expressions and actions accordingly.
- Touch Start (Camera) to record, or touch GIF, then touch and hold AR to create your own personalized Qmoji.
- There are several effects to choose from to make your photos stand out:
4. How to Use Wide Aperture Mode to Highlight Your Shooting Subjects
Wide aperture mode produces photographs with a shallow depth of field. This creates a blurred background that lends greater emphasis to the photo’s subject.
Take a wide aperture photo:
- Go to Camera > Aperture.
- When shooting, touch the Screen to select a focal point, and then touch Camera to take the photo.
Tips:
- For optimal results, ensure that the subject is positioned no more than 2 m away from the camera.
- Touch Camera and swipe left or right on the slider to adjust the aperture level.
- The smaller the aperture value, the more blurred the background will appear.
5. How to use Panorama Mode?
Panoramas provide a wider viewing angle than ordinary photos, letting you take sweeping landscape shots.
Tips:
- To capture a panorama shot, the camera takes multiple photos of objects within our visual field and stitches them together into a single photo.
- When taking a panorama, find a wide, open space that is some distance away from the subject and try to avoid backgrounds that are all in one color.
- How to use Panorama Mode to Take Panoramic Selfies:
- Open Camera and touch Switch for the front-facing camera.
- Go to More > Panorama.
- Hold your Phone steady and touch Camera to take the first picture.
- Follow the onscreen instructions and pan your Phone horizontally until the blue frame overlaps with the square screen frame. Your camera will automatically take another picture.
- Follow the onscreen instructions again and pan your Phone in the opposite direction until the blue frame overlaps with the square screen frame. Your camera will automatically take the last picture.
- Once complete, the camera will automatically combine the three pictures into a panoramic selfie.
- How to use Panorama Mode to Take Panoramic Photos:
- Go to Camera > More > Panorama.
- Touch
 at the bottom of the screen to configure the shooting direction.
 - Hold your Phone steady, and then touch Camera to start shooting. Slowly move the Phone in the direction indicated, holding the device steady and ensuring that the arrow stays level with the center line.
- Touch Stop (Camera) when you are finished. The camera will automatically stitch the photos together to create a panorama.
6. How to use the Pro Mode?
- Go to Camera > Pro.
- Select a Metering mode:
 or
or  mode is recommended for taking portraits.
 - Place your shooting subject (for example, a person”s face) in the center of the viewfinder.
Adjust brightness based on the shooting environment:
- Adjust ISO: To avoid excessive image noise, it is recommended that you adjust the ISO to a low level when shooting portraits. You may adjust the ISO based on the actual shooting environment.
Shooting Environment Recommended ISO Outdoors Between 100 and 200 Indoors Around 400 Night scenes Between 400 and 800 - Adjust shutter speed: Reduce the shutter speed in low light conditions, and increase it in bright light conditions. The recommended shutter speed for static portraits is between 1/80 and 1/125 of a second. To shoot moving subjects, select a shutter speed at or above 1/125 of a second.
- Adjust EV compensation: Increase the EV compensation in low light conditions, and decrease it in bright light conditions.
Adjust AWB: Select AWB depending on the lighting conditions. When shooting in bright sunlight, select  . In low light environments, select
  .
.
Adjust focus: To better highlight a subject, use manual focus (MF) when shooting portraits. In the viewfinder, touch to focus on the part you want to highlight (the subject”s face, for example).
Tips:
- In Pro mode, changing a specific setting will sometimes cause other settings to change as well. Adjust them according to your actual requirements.
- The recommended settings above are for reference only. Adjust them according to actual usage conditions to achieve your desired effect.
- Keep your device steady when shooting: On the Pro mode screen, touch Settings and enable Horizontal level. A horizontal guiding line will appear on the viewfinder.
- If a dotted line appears, the camera is not yet parallel with the horizontal level. When the dotted line overlaps with the solid line, the camera is now parallel with the horizontal level.
7. How to take Black and White Photos?
The world is an amazingly colorful place. But sometimes too many colors can be distracting. Monochrome mode filters out color, helping to bring out light and shadows, and give photos more mood and atmosphere.
- Open Camera > More > Monochrome.
- Then touch Camera to take photos in black and white.
8. How to use Light Painting Mode?
Light Painting: Shoot Light Trails
Light painting mode automatically sets a slow shutter speed to take long-exposure shots of light trails. This mode produces stunning photos that have an ethereal quality.
Light painting mode offers four creative shooting modes for different subjects and light conditions:
- Traffic trails: Captures light trails created by cars at night.
- Light graffiti: Captures trails created by a moving light source in low-light conditions.
- Silky water: Captures silky-smooth photos of waterfalls and flowing water.
- Star trails: Captures stunning photos of star trails in the night sky.
How to use Tail Light Trails to Capture the Lights of the City?
Tail light trails let you create artistic photos of car tail lights at night.
- Open Camera > More > Light painting > Traffic trails.
- Hold your Phone steady, and then touch Camera to start shooting. A preview of the image is displayed in the viewfinder.
- Touch Stop (Camera) when you are finished.
Tips:
- Shoot from a distance and slightly above your subject for best results.
- Ensure that car headlights do not point directly at the camera, as this can overexpose the image.
- Place your device on a tripod or solid surface so that it does not move during the exposure.
How to use Light Graffiti to Create Light Patterns?
Light graffiti lets you create patterns or write words by moving a light source in front of the camera.
- Open Camera > More > Light painting > Light graffiti.
- Hold your Phone steady, and then touch Camera to start shooting. A preview of the image is displayed in the viewfinder.
- Touch Stop (Camera) when you are finished.
Tips:
- Find a dark location away from other light sources and ensure that the subject’s silhouette is not visible.
- Choose a suitably bright light source of an appropriate color, such as a small torch or glow stick.
- Place your device on a tripod or solid surface so that it does not move during the exposure.
How to capture Rivers and Waterfalls with Silky Water?
The Silky water feature lets you capture silky smooth photos of waterfalls and rivers.
- Go to Camera > More > Light painting > Silky water.
- Hold your Phone steady, and then touch Camera to start shooting. A preview of the image is displayed in the viewfinder.
- Touch Stop (Camera) when you are finished.
Tips:
- This feature works best with a stream or waterfall with lots of water.
- Place your device on a tripod or solid surface so that it does not move during the exposure.
How to use Star Track to Capture the Beauty of Stars?
Star track allows you to capture the movement of stars in the night sky.
- Go to Camera > More > Light painting > Star trails.
- Hold your Phone steady, and then touch Camera to start shooting. A preview of the image is displayed in the viewfinder.
- Touch Stop (Camera) when you are finished.
Tips:
- For best results, choose a clear night in a location free of light pollution with an unobstructed view of the sky.
- Place your device on a tripod or solid surface so that it does not move during the exposure.
9. More Capture Modes
- Use Time-Lapse to Create a Short Video
Use Time-lapse mode to capture images over a long period of time and condense them into a short video. Capture and watch nature in its entirety: blooming flowers, drifting clouds, or even star trails against the night sky.
- Go to Camera > More > Time-lapse, and touch Camera to start recording a time-lapse video.
- Touch Stop to finish recording.
- You can then go to Gallery to play your time-lapse video. For bthe est and optimal result, the recording and playback speeds are automatically adjusted by the system.
Tips:
- Recording a time-lapse video continuously for a long period of time may consume battery power and use up storage space.
- Place your device on a tripod or flat surface to keep it steady while recording.
- Before you start, ensure that the scene is well lit and the camera is in focus.
- Position the camera carefully to fit relevant background objects as much as possible.
- Custom Shooting Modes
Want to discover new ways of using your camera besides the preset functions? You can download or delete shooting modes based on your needs.
Download more shooting modes: Open Camera > More > Download. Select the shooting modes to download, and touch ADD.
Update shooting modes: To update shooting modes, go to the More screen. The shooting modes with available updates will have red dots next to them. You can follow the onscreen prompts to update them.
Delete shooting modes: Go to More > Edit, and touch X to delete unneeded shooting modes. To ensure that Camera works normally, preset shooting modes cannot be deleted.
- How to take Moving Pictures?
Make your photos more dynamic and fun by taking moving pictures to prolong life’s wonderful moments. With moving pictures, you can record a scene approximately one second before and after pressing the shutter button. When browsing photos in Gallery, view the static picture taken or play a dynamic moving picture effect and sound.
- Take moving pictures: Open Camera, go to More > Moving picture, then touch Camera to take a moving picture.
- View moving pictures: Moving pictures will be saved to Gallery in JPG format. Go to Gallery > Albums > Camera, touch pictures with the Circle icon, and touch Circle on the top of the picture to view a dynamic effect. The moving picture automatically stops after a complete playback. You can also touch the screen to stop the playback.
- Share moving pictures: Go to Gallery > Albums > Camera, touch the moving picture you want to share, then touch Share to select a sharing method.
Tips: Moving pictures can be shared directly through Wi-Fi, Bluetooth, Huawei Share, and more. The receiving device must be a Huawei device that supports the capture of moving pictures in order to play the moving picture effect. When you share moving pictures to third-party apps or incompatible devices, moving pictures will be displayed as static images.